
Getting Started
Welcome to auto-mcs! This software provides a simple and easy-to-digest experience for those who want to play Minecraft with their friends without the hassle of server installation & maintenance.
Some notable features include:
Section titled “Some notable features include:”- Create a server in less than a minute
- Full support for Vanilla, CraftBukkit, Spigot, Paper, Purpur, Forge, NeoForge, Fabric, and Quilt. Most versions are supported from alpha to modern releases through creation or import
- No port forwarding required with playit.gg integration
- Browse modpacks from Modrinth & CurseForge directly in the app, or import any modpack
- Mod & plug-in manager with Modrinth & CurseForge integration for search, installation, and updates
- Switch worlds, versions, or modloaders/distributions on the fly
- Automatic server installation & updates
- Automatic back-up management & restore functionality
- Custom console with a universal scripting API, amscript (compatible with Vanilla) and a built-in IDE
- Firewall-like Access Control menu to manage operators, bans, and the whitelist in one place
- Custom remote access solution, Telepath, for management on the go
- Detailed crash detection with accessible reports
- Built-in
server.properties& config editor for ease of use
Installation
Section titled “Installation”To get started, download the latest version of auto-mcs. Extract auto-mcs from the .zip file (or copy auto-mcs.app from the macOS .dmg) to a location of your choice and launch it. For platform-specific instructions, see Deployment. That’s it, there’s no installation required!
To start using auto-mcs, you can create a new server from scratch or import a server you’ve made on your own. As with any Minecraft server, auto-mcs requires Java, which it installs and manages internally. It might take a minute to initialize on your first server operation.
For the majority of users, auto-mcs is pre-configured to provide optimal settings. From the Create a New Server screen, choose an instant template to get started! Using a template automatically enables the playit.gg integration to make it easy for your friends to join.
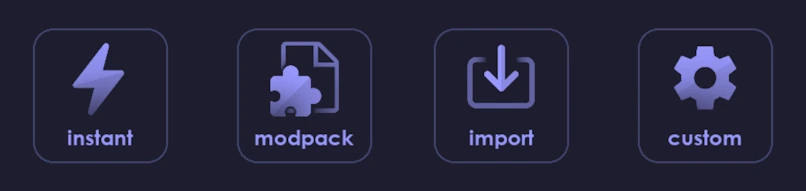
For a modpack, custom setup, or migration from another platform, check out these guides:
| Create a Server | An overview of the settings available during creation |
| Import a Server | Bring an existing server or auto-mcs back-up into the app |
| Modpacks | Download or import a modpack |
| Advanced Setup | Detailed configuration for distributions, worlds, and more |
Post-installation
Section titled “Post-installation”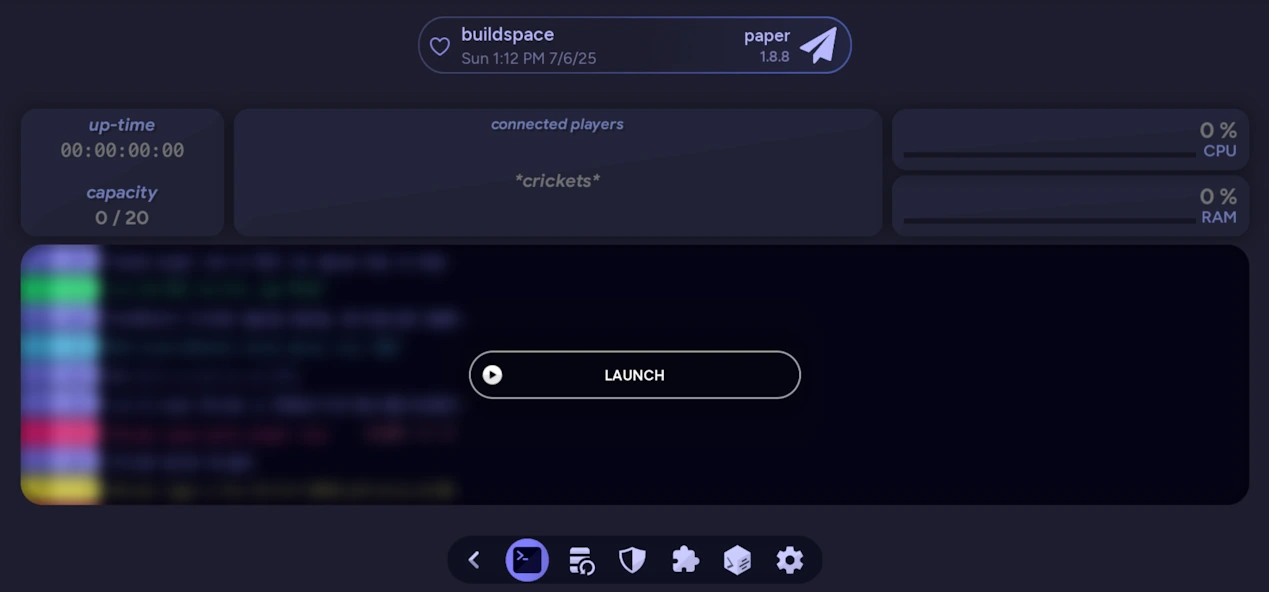
After creating or importing a server, you’ll be brought to the Server Manager. There are a few optional but recommended steps to take after installation:
-
When the server is stopped, you will be prompted to enable automatic back-ups. Clicking Yes will save a snapshot of everything in your server when it’s stopped to be restored later in case of an issue. You can save a back-up in the Back-up Manager at any time, or by using the
!backup savecommand. -
On the topic of back-ups, it’s important to back up your back-ups in case something happens to your computer. One of the easiest ways to do this is if you have a NAS or cloud-hosted storage service. Click on Migrate Back-up Directory in the Back-up Manager and select a subfolder in OneDrive, a network share, Dropbox, Google Drive Desktop, etc. You can also download the “Cloud Backup” amscript from the Script Manager to automate this process.
-
If your server isn’t intended to be completely open to the public, take the time to configure proper rules like a whitelist in the Access Control Manager to prevent unwanted guests from joining without permission.
-
If you want to change other settings like adding a resource pack, edit
server.propertiesthrough Settings. If you want even more advanced configuration, you can leverage the built-in amscript API to accomplish whatever you want. Learn more about amscript.